Blogs & Recipes
Welcome to the Abinger Cookery School! Here, we delve into the world of food, offering a blend of news, expert tips, and seasonal inspiration. From mastering classic techniques to exploring global flavours, our blog is your guide to culinary excellence. Join us as we ignite your passion for cooking and elevate your dining experiences.
 Recipe
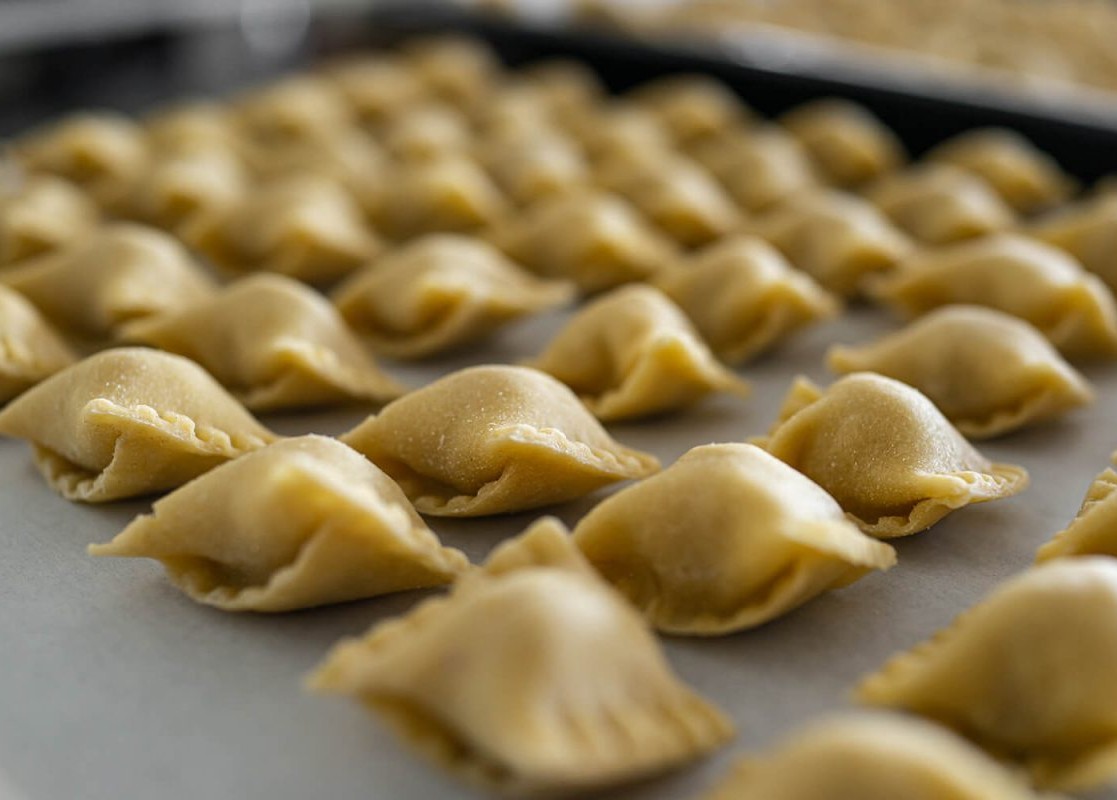
Agnolotti Pappa al Pomodoro with Basil
This hearty and comforting dish is a true celebration of Italian cuisine.
Recipe
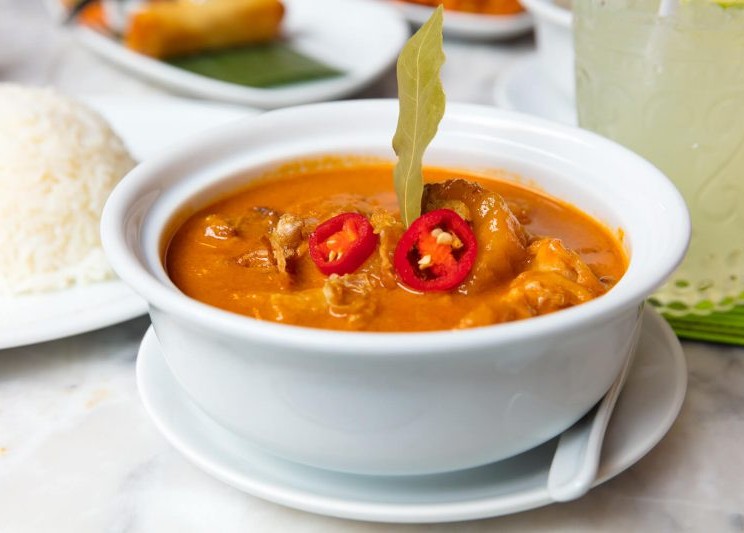
Massaman Duck Curry
Indulge in the rich and aromatic flavours of Thailand with our Massaman Duck Curry.
Recipe
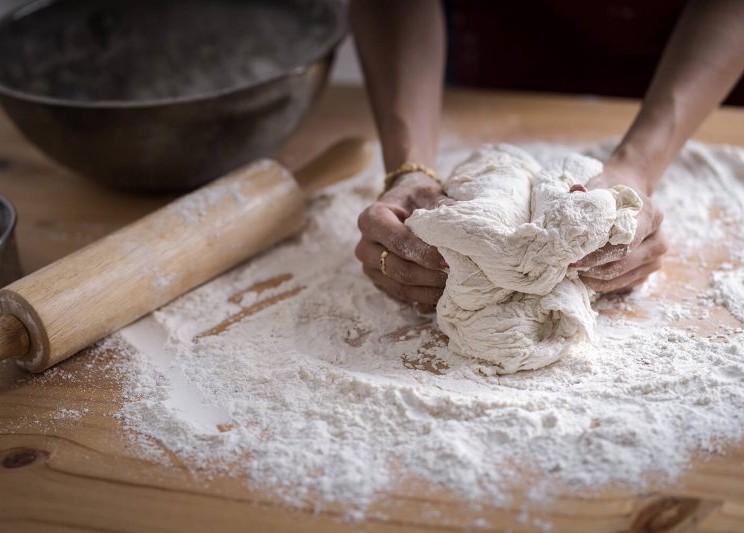
Pasta Dough
This simple yet versatile recipe will guide you through creating a silky-smooth dough that's perfect for any pasta shape.
Recipe
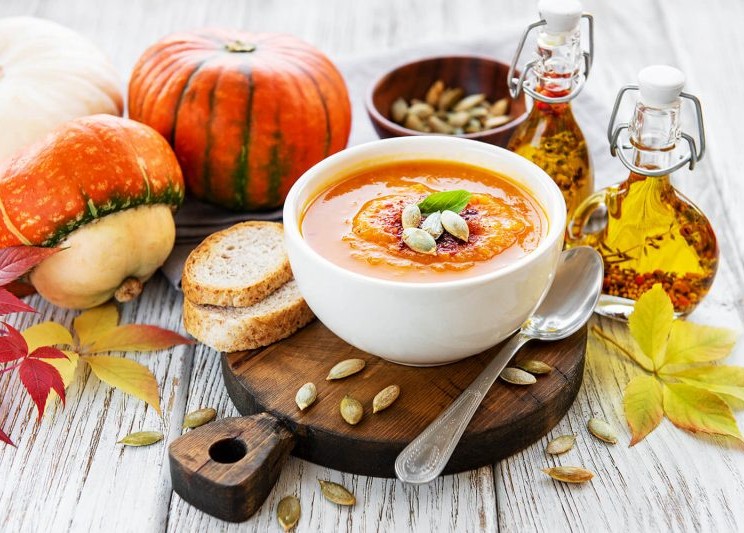
Spiced Pumpkin Soup
A velvety symphony of pumpkin and coconut, this soup is a comforting embrace on a chilly day. Its rich, creamy texture and exotic flavours will transport you to a warm and cosy place.
British, Recipes
Spiced Pumpkin Soup
Recipe
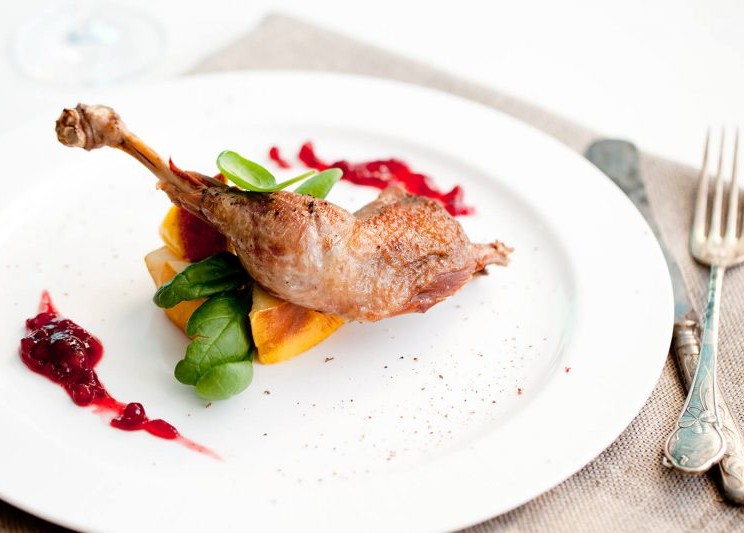
Confit Pheasant Legs
Indulge in the rich, tender flavours of this slow-cooked pheasant confit. A culinary masterpiece that will tantalise your taste buds.
Recipe
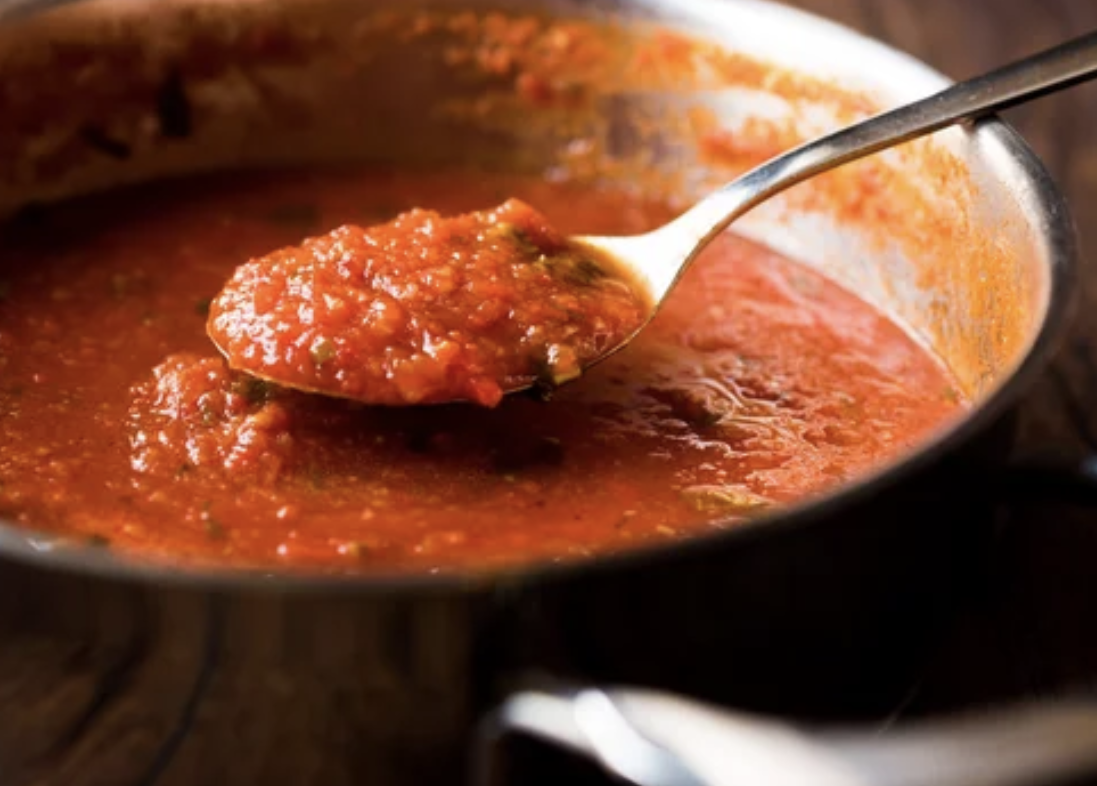
Pizza/Pasta Sauce
A simple yet incredibly flavourful sauce that will elevate your pasta dishes. Bursting with fresh basil and ripe tomatoes, this sauce is a must-try.
Recipe
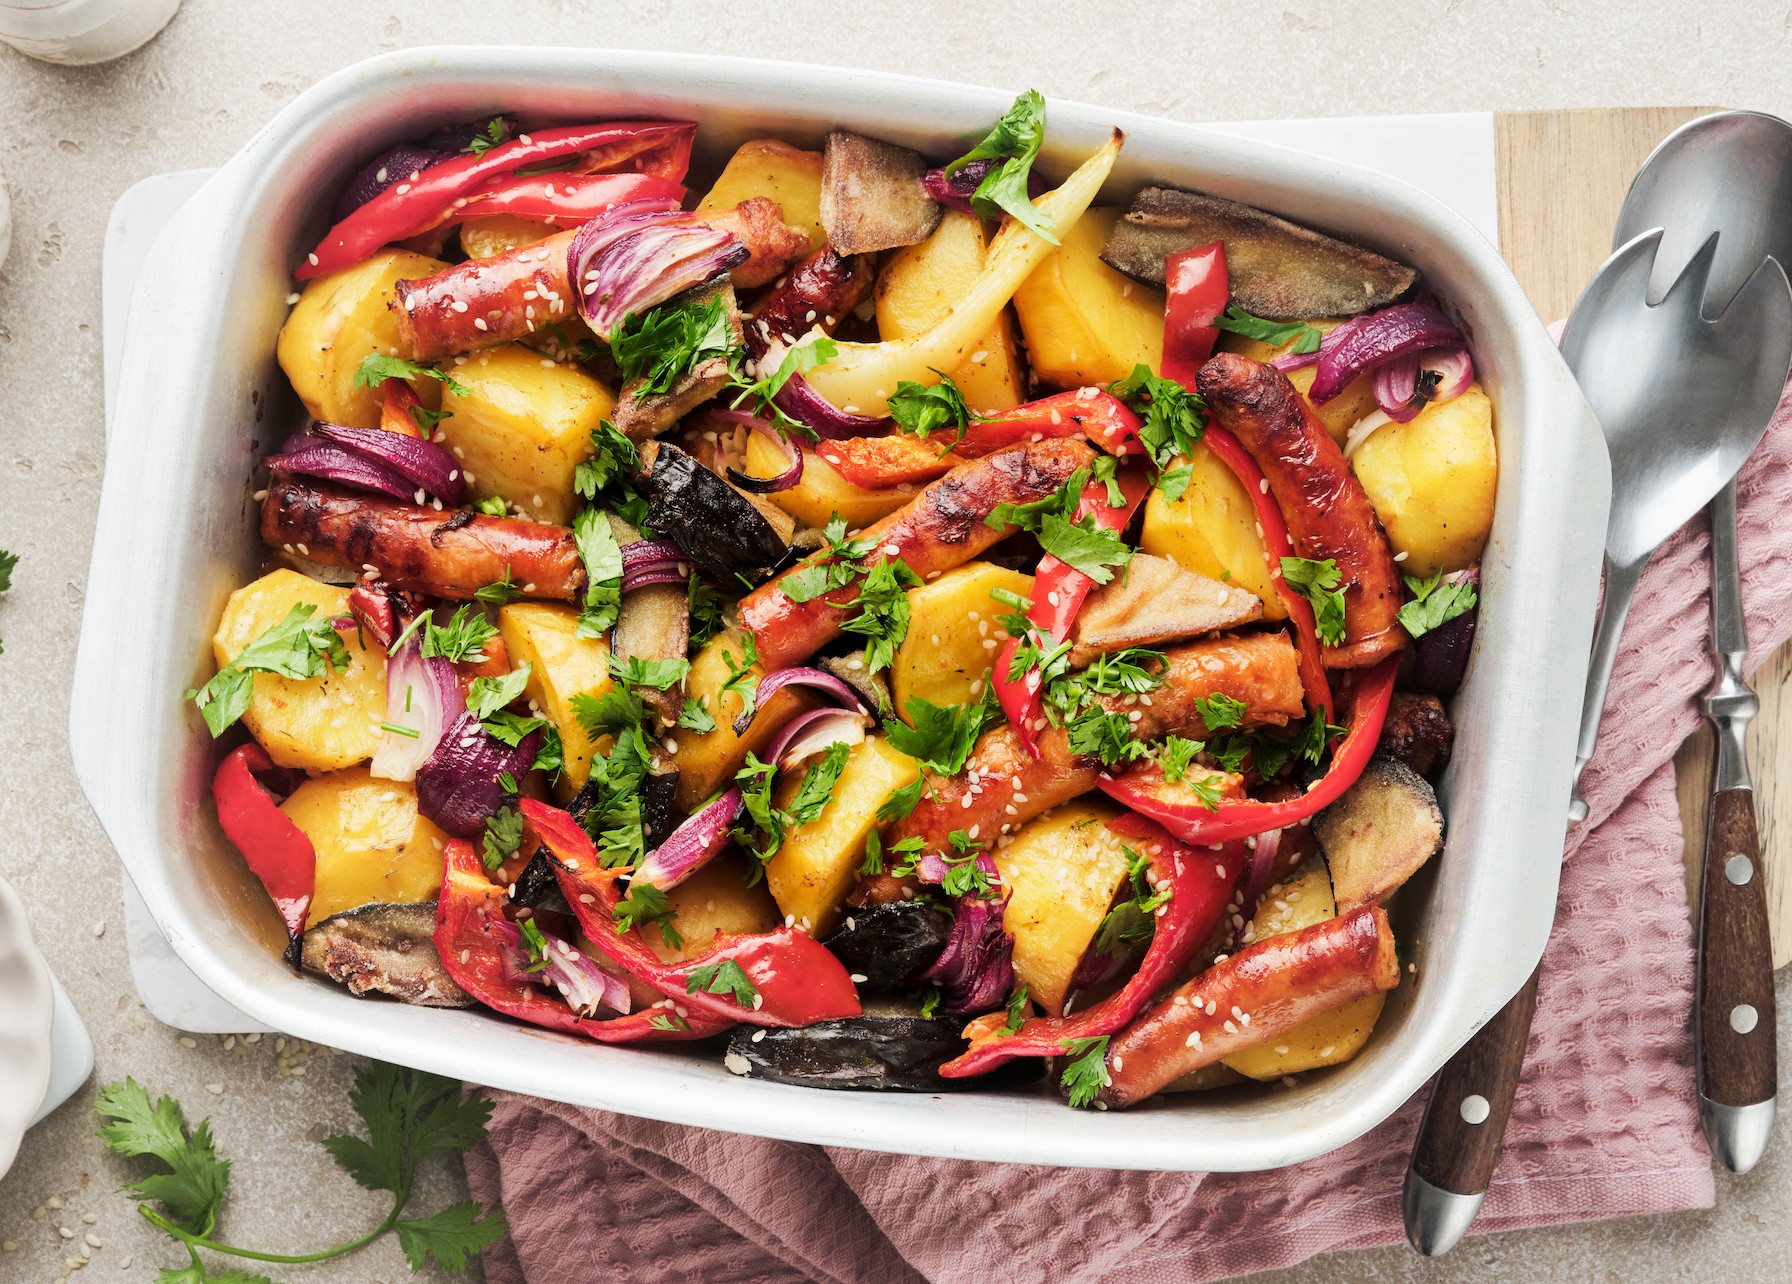
Sausage, Potato, Parsnip & Red Onion Traybake
A simple yet satisfying dish, perfect for a weeknight meal. This one-pan wonder combines succulent sausages with roasted root vegetables for a comforting and delicious meal.
Recipe
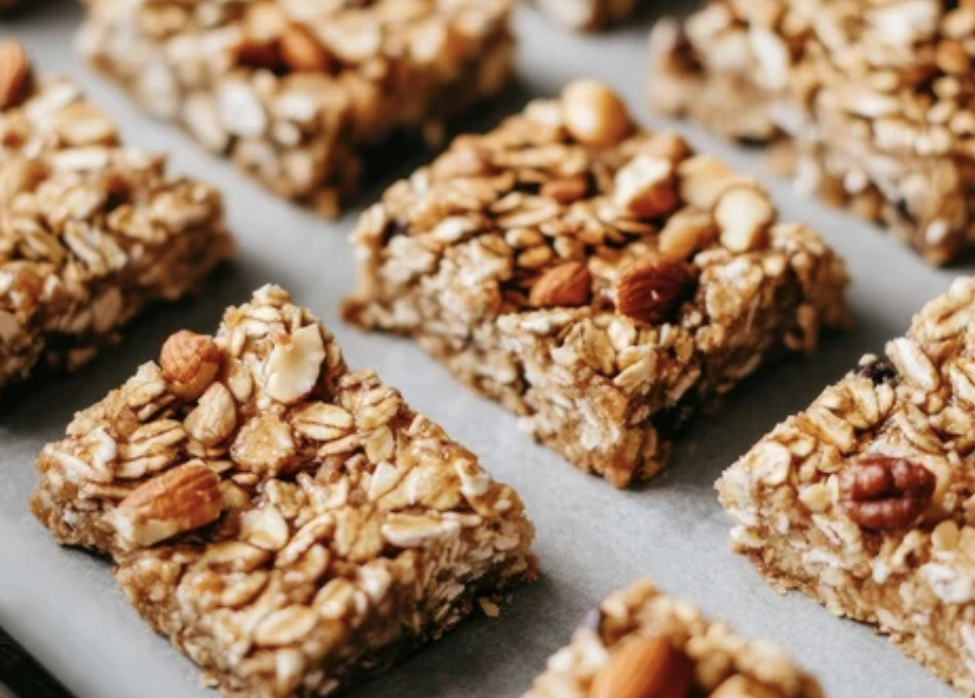
Porridge Bars
A wholesome and delicious snack or breakfast treat. These bite-sized bars are packed with fiber and natural sweetness, making them a perfect on-the-go option.
Recipe
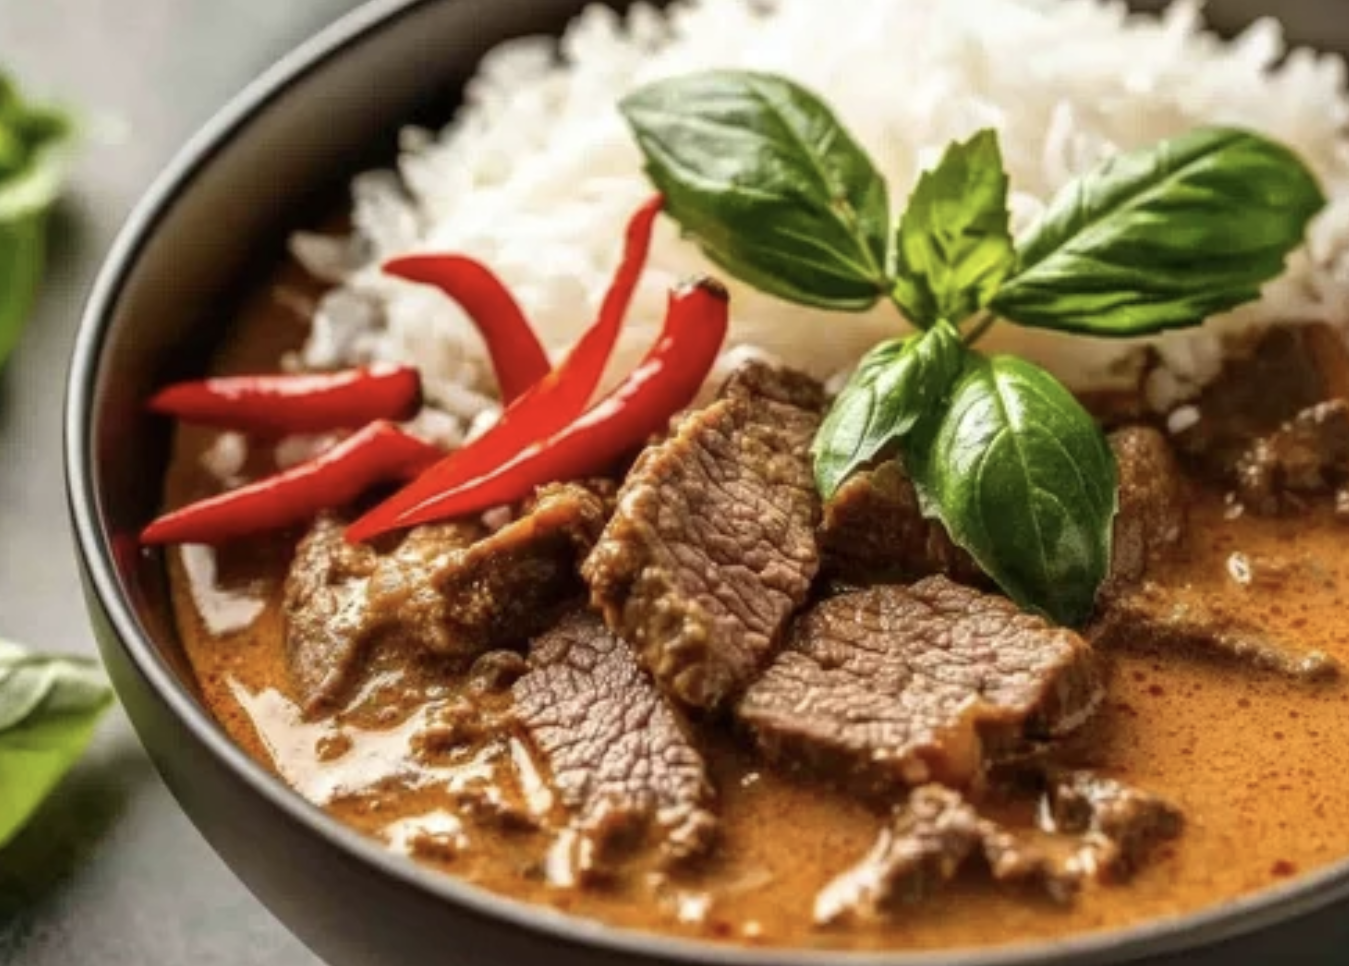
Panang Curry with Beef
This authentic Thai curry is a symphony of bold flavours, combining rich coconut milk with fiery chilli peppers and aromatic spices. The tender beef is perfectly complemented by the fragrant herbs and spices, creating a truly unforgettable dish.
Recipe

Brownie Cookies
Indulge in these irresistible brownie cookies, a perfect blend of gooey brownie and chewy cookie. Rich, chocolatey and studded with white chocolate chunks, these treats are sure to satisfy any sweet tooth.
Recipe
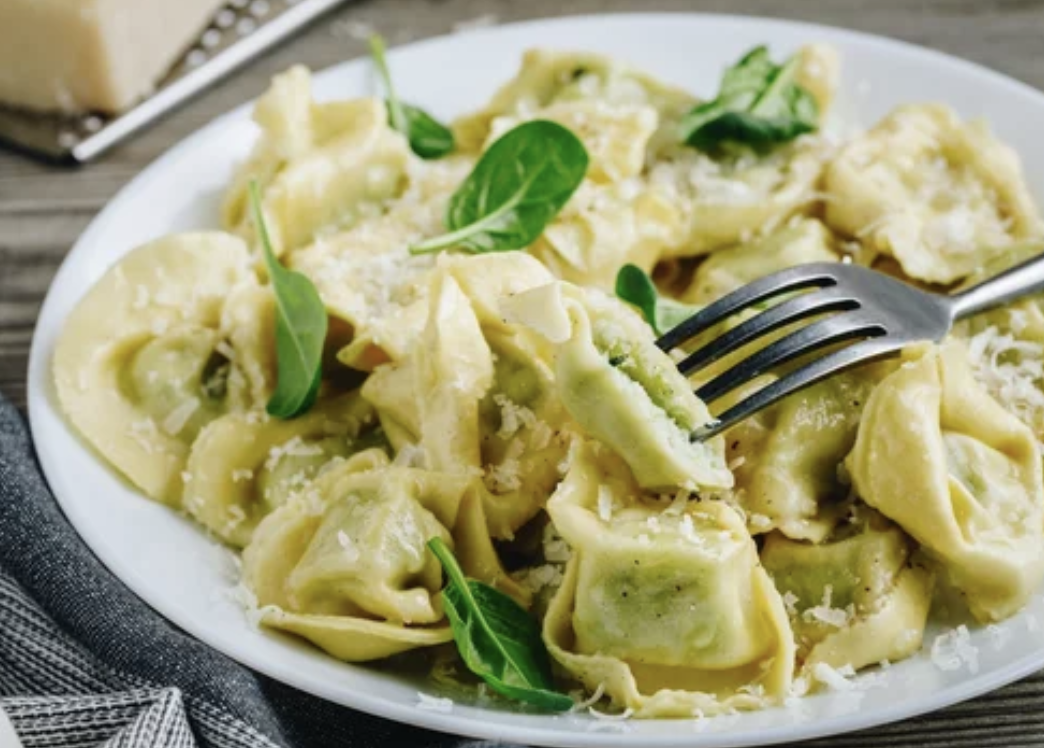
Ricotta & Herb Ravioli
A classic Italian dish, these delicate ravioli are filled with creamy ricotta and herb filling. The simple yet elegant flavours are balanced perfectly, making this a truly delightful dish.
Recipe

Buttermilk Pancakes
A classic breakfast treat, these fluffy pancakes are made with buttermilk for a tangy flavour and tender texture. Perfect for a weekend brunch or a cosy weekday morning.
Gift Vouchers
A gift voucher is the perfect present for any food-loving friend or relative.
An Abinger Cookery School gift voucher unlocks a world of exciting cookery courses (excluding Weber®). From mastering techniques to discovering delicious recipes, your recipient will be cooking like a professional in no time.